Chipped Tile Repair Services for Property Owners
Visitors can learn about local contractors who handle chipped tile repair and compare options to find the right service providers.
- - Residential homeowners seeking to repair chipped tiles in kitchens, bathrooms, or living areas.
- - Commercial property managers needing to restore tile surfaces in office buildings, retail spaces, or public facilities.
- - Contractors and handymen looking to connect with local specialists for quick, reliable chipped tile repairs.

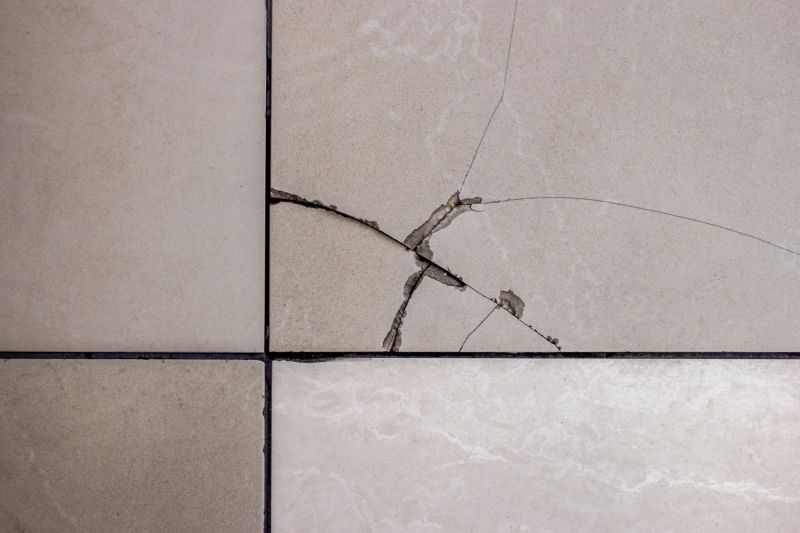
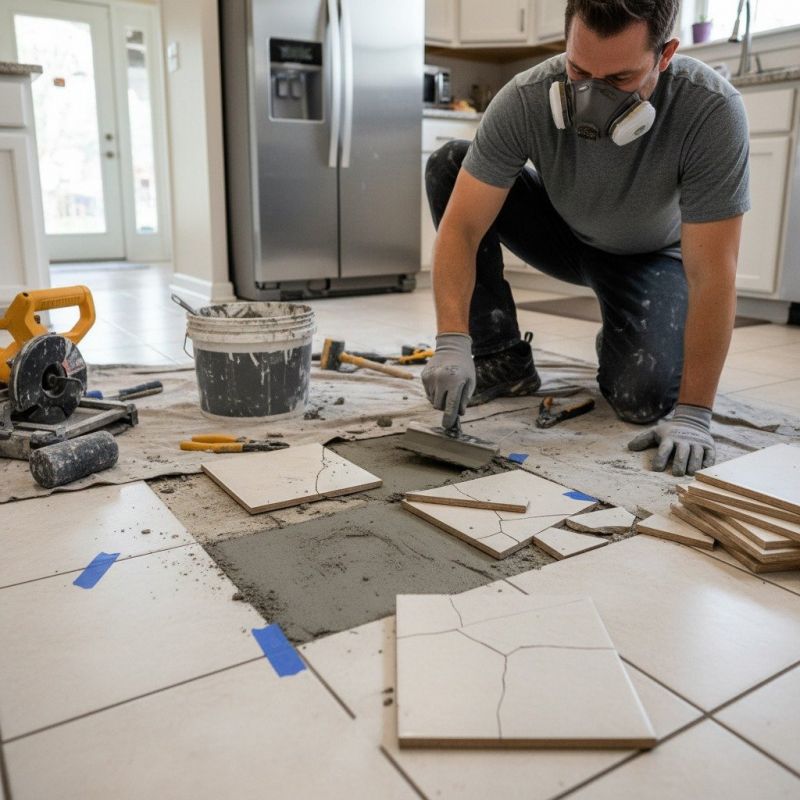
Chipped tile repair is a common issue that property owners encounter in both residential and commercial spaces. When tiles become chipped or damaged, it can affect the appearance and integrity of surfaces such as floors, walls, or backsplashes. Local contractors who specialize in tile repair typically assess the extent of the damage and use appropriate techniques to restore the surface, helping to maintain the overall look and functionality of the area. These professionals are experienced in working with various tile materials and can provide solutions tailored to each specific situation.
Connecting with experienced service providers ensures that chipped tile repairs are handled efficiently and effectively. Property owners seeking this type of work often look for local pros who can deliver quality results and reliable service. By comparing different contractors in the area, individuals can find the right fit for their needs, whether it involves minor touch-ups or more extensive repairs. This approach helps to ensure that tile surfaces are restored to their original condition, enhancing the appearance and value of the property.
Chipped Tile Repair Services
Learn about different local contractors specializing in chipped tile restoration to make informed decisions.
Compare service options and expertise to find providers that match specific repair needs.
This guide helps visitors understand the key factors involved in chipped tile repair, aiding in informed decision-making. It provides a clear overview to compare and connect with trusted local service providers. By highlighting common repair considerations, it prepares users to communicate effectively with local contractors about their project needs.